Issue Types
Issue Types are used to determine what has gone wrong during an Inspection. To create or edit Issue Types, go to Quality, and then Issue Types:
This is the screen that will appear:

To create a new Issue Type, click on New (if the section on the right is not already blank) and fill out the fields as follows:
• Name: Name of the issue
• Code: Shortened name which will be used in different sections of Traze
• Category: Select from the drop-down menu or create using the “+” button. Categories are not pre-set.
• Type: Select from the drop-down menu whether it’s a defect or a nonconformity
Click on Save to continue
After you click on Save, the Default Action and Default Activity fields will be enabled. Select from the drop-down menu of Default Action to select between: • Warning: Send a Warning to the vendor • Credit: Send a Credit to the vendor Select from the drop-down menu of Default Activity to select an option from the set of Activities that have been defined as consequence to different Issues. This field is not required. These Activities are created elsewhere and have their own article ARTICLE PENDING. Click on Save to finish, the newly created issue will appear on the left:
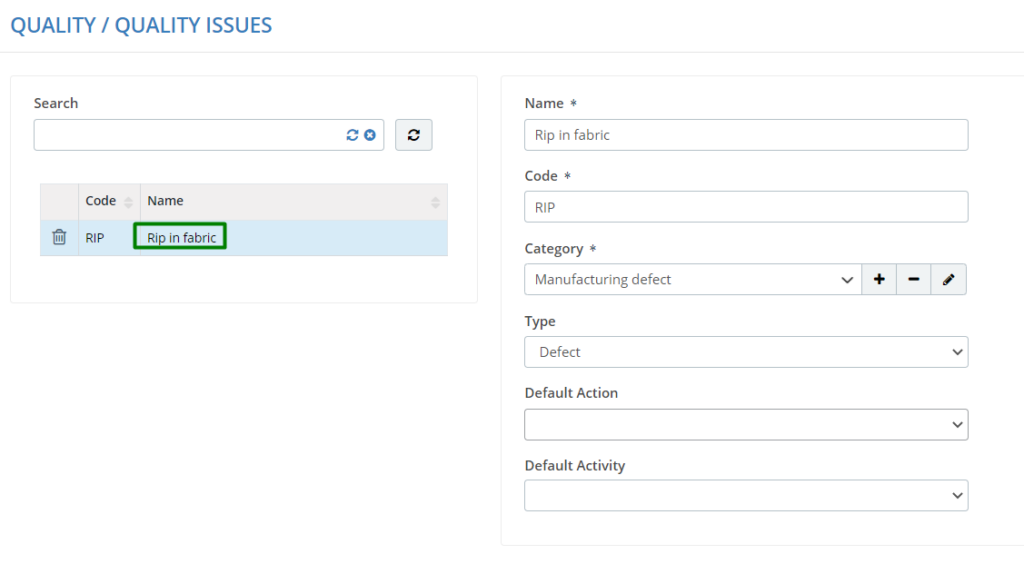
If you return to this screen you may edit an issue at any time by clicking it on the list on the left.
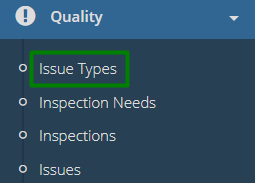
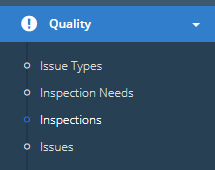
Inspection Needs
The Inspection Needs page is where all the line items of every single shipment that is coming will be available for Inspection. To visit this submodule, go to Quality and then Inspection Needs:

The following section will appear when you do:
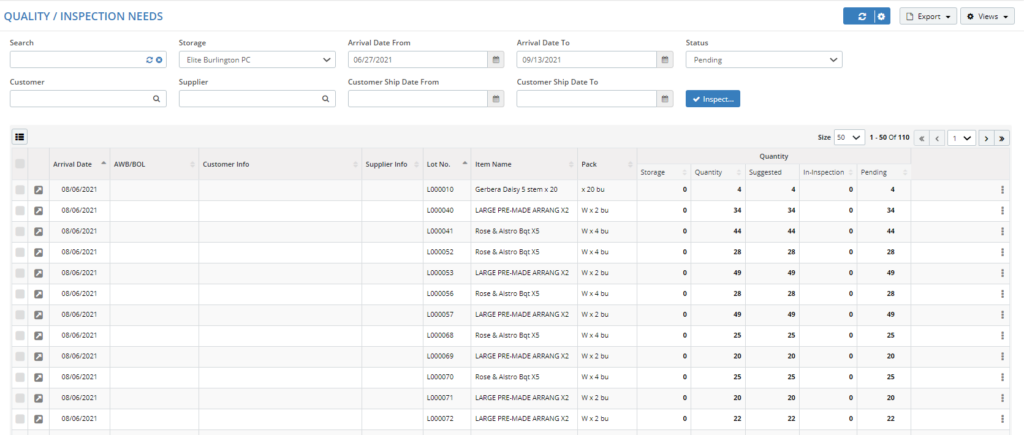
In the columns on the right, you’ll be able to see:
• Quantity: How many of the item is arriving • Suggested: How many should be inspected to ensure quality • In-inspection: How many items have been taken to inspection • Pending: How many items are pending inspection To start an inspection, select the line of the lot you’d like to inspect:
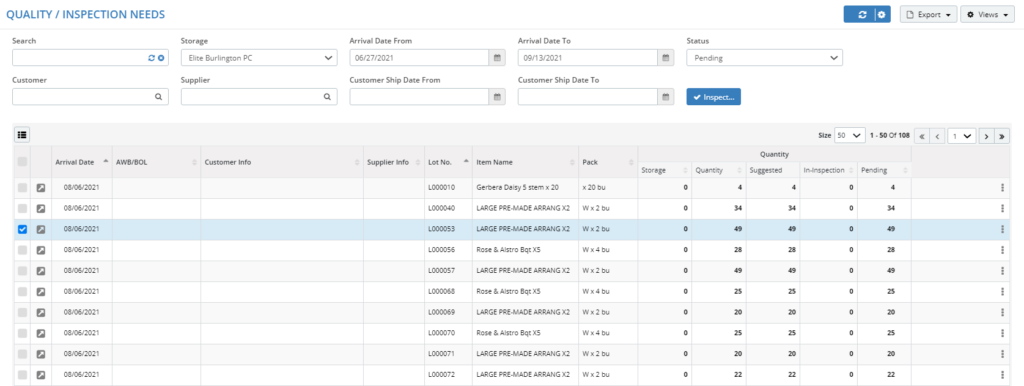
Click on Inspect to continue. You will be taken to an inspection screen:
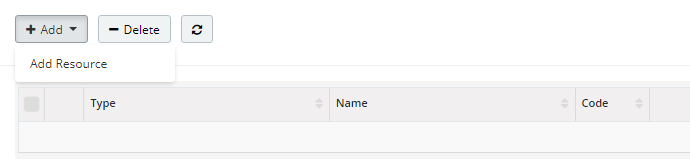
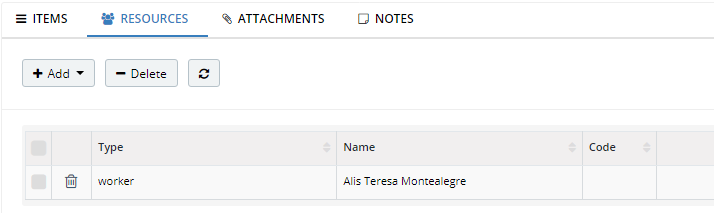
Resources
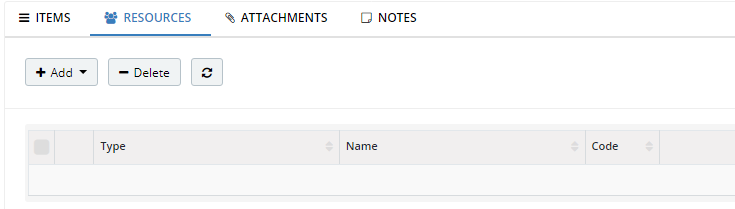
You can also add Resources (people involved in the inspection) under the Resources tab. Click on “+Add” and then on Add Resource:
The following pop-up window opens where the resource is selected and added by clicking the add button:
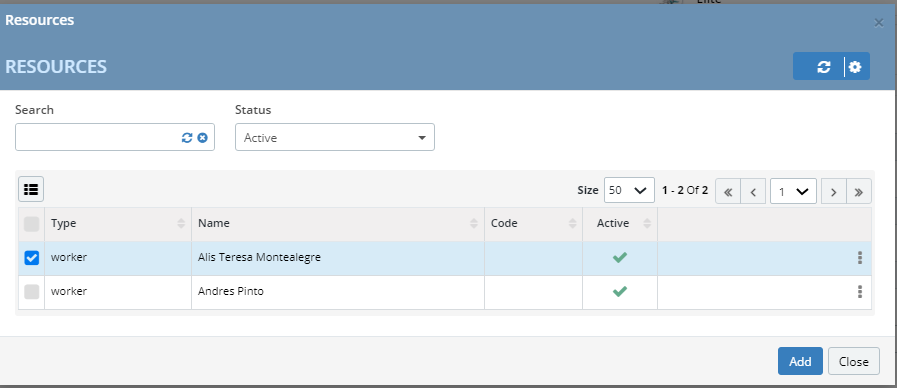
Select the worker or work team and click on Add to finish.
Attachments

Click on Upload to bring up the window where you can choose which file to upload:
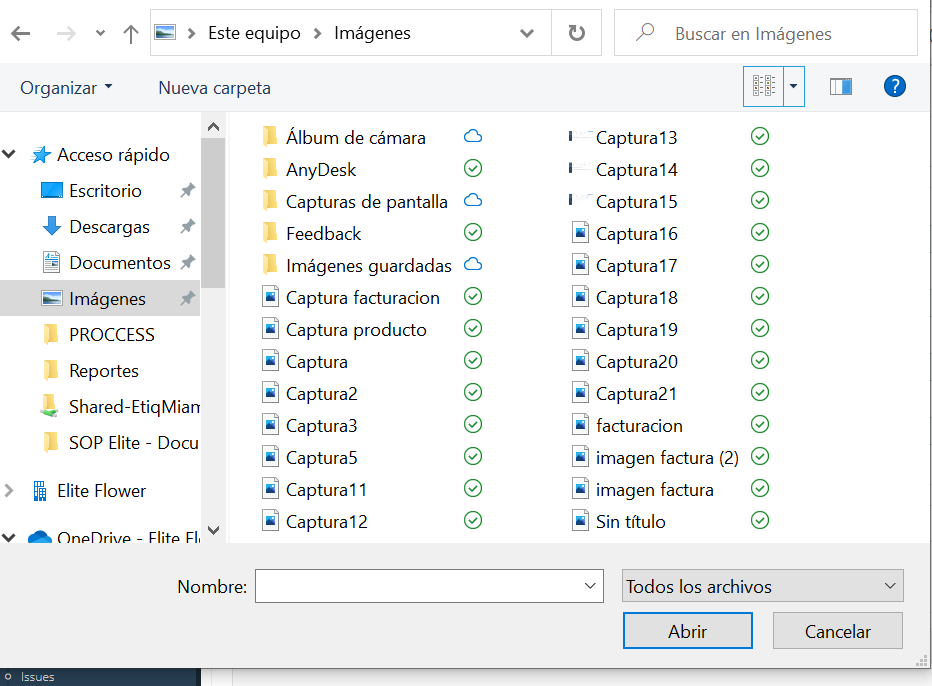
The file will be uploaded:
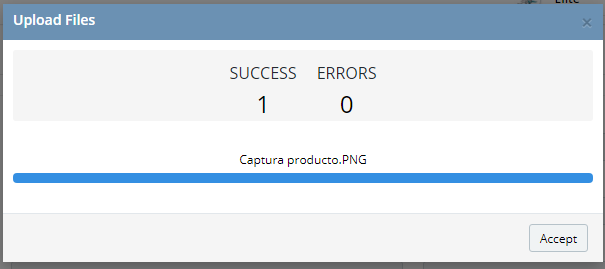
Click on Accept to finish, and you’ll see the file was added under Attachments:

Notes
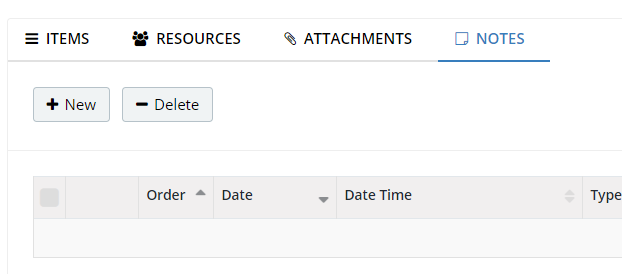
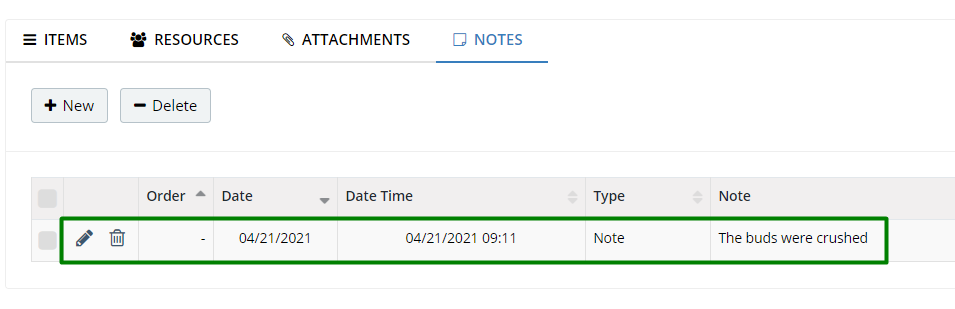
Click on “+New” to add a note. The following window will appear:
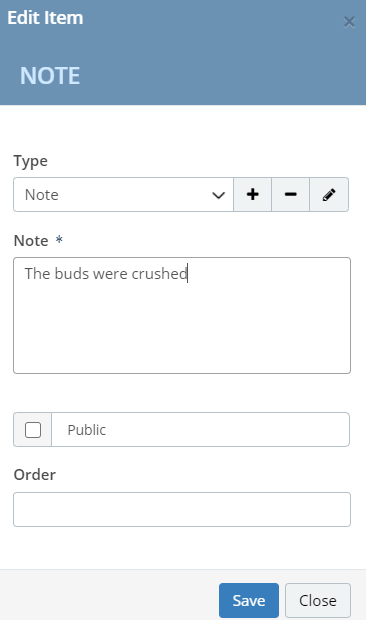
Complete the fields as follows • Type: What type of note is this? Select from the drop-down and add types by using the “+” button (optional) • Note: Add the detail of the note • Public: Select if the note will be public or not (optional) • Order: Optional field Click on Save and the note will be added under the Notes tab:
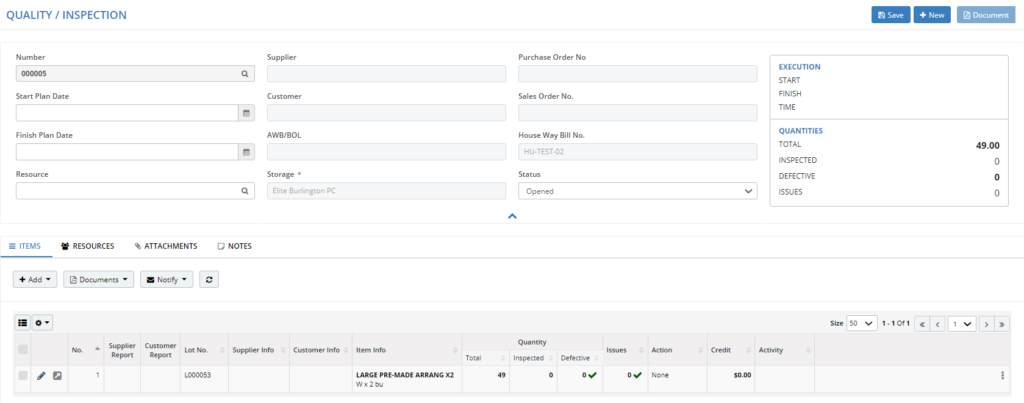
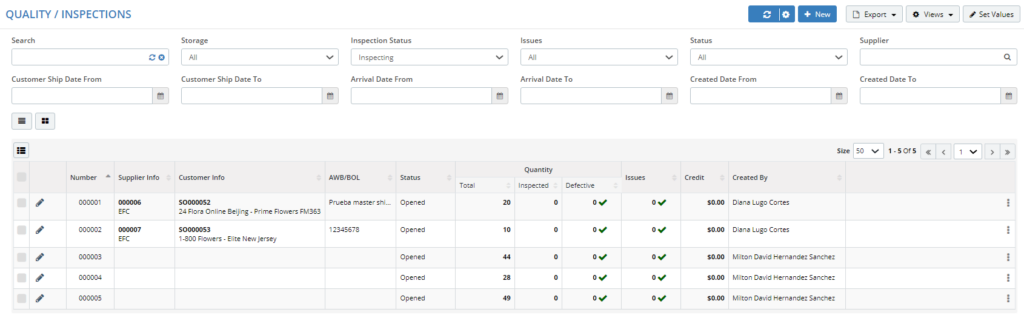
Inspection
The Inspections Sub-Module is found under Quality, and then Inspections:
here, you will encounter the following screen:
You may create a new Inspection by clicking on “+New”, or you may also do it directly after coming from Inspection Needs. You will encounter an Inspection Screen:
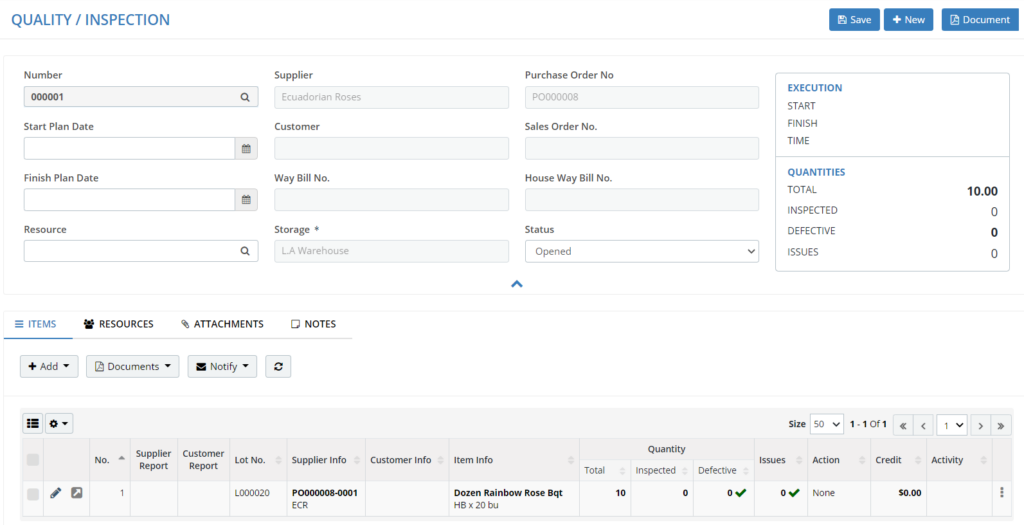
Complete the fields as follows:
• Start Plan Date / Finish Plan Date: Start and Finish dates for the inspection
• Resource: Select the employee that is doing the inspection
• Storage: Wherever the inspection is being done. If you are coming from Inspection Needs, this field will be completed automatically.
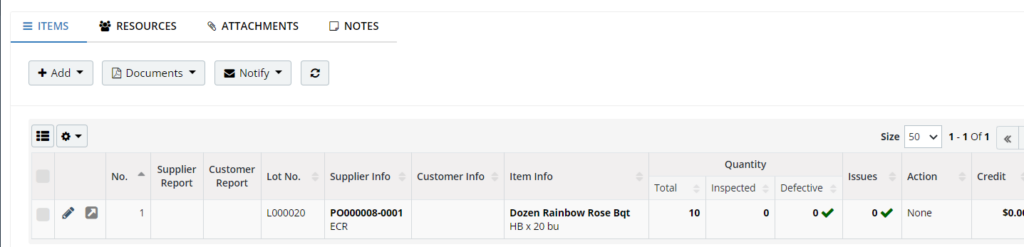
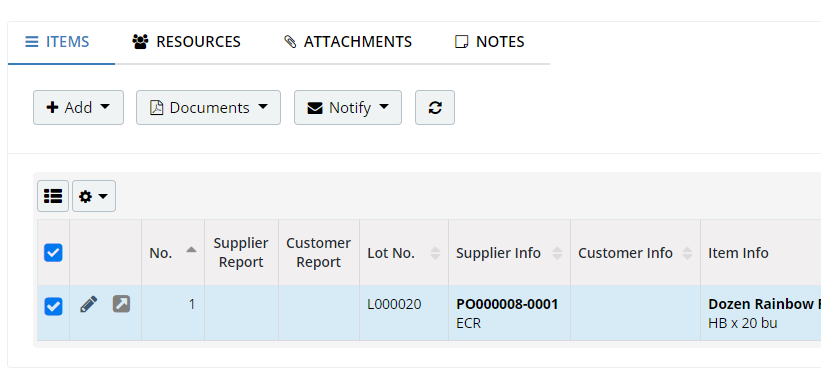
Under the Items section, since we came from Inspection Needs, we already have some items associated with the inspection:
Not coming from Inspection Needs
Notifications
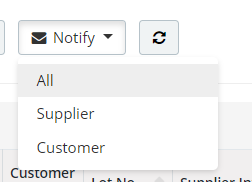
To send notifications, select the line of the items that you want to notify on:

Click on Notify and then select whether you’d like to inform the Supplier, the Customer, or All:
Documents
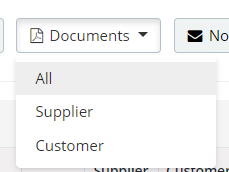
To generate documents, select the line of the items
Click on Documents, and then select whether they will be for the Supplier, Customer, or All
Inspecting and Adding Issues
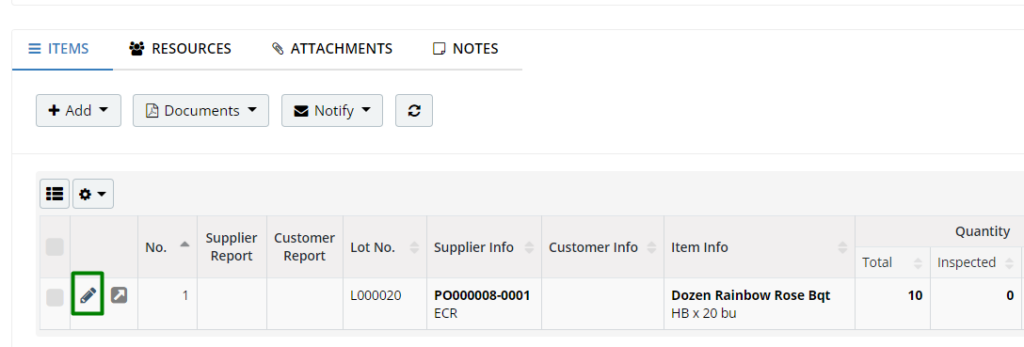
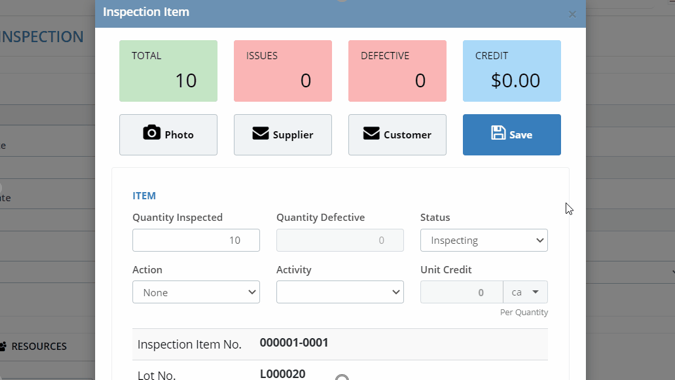
Click on the Pencil button of the items that you will inspect. The following window will appear:
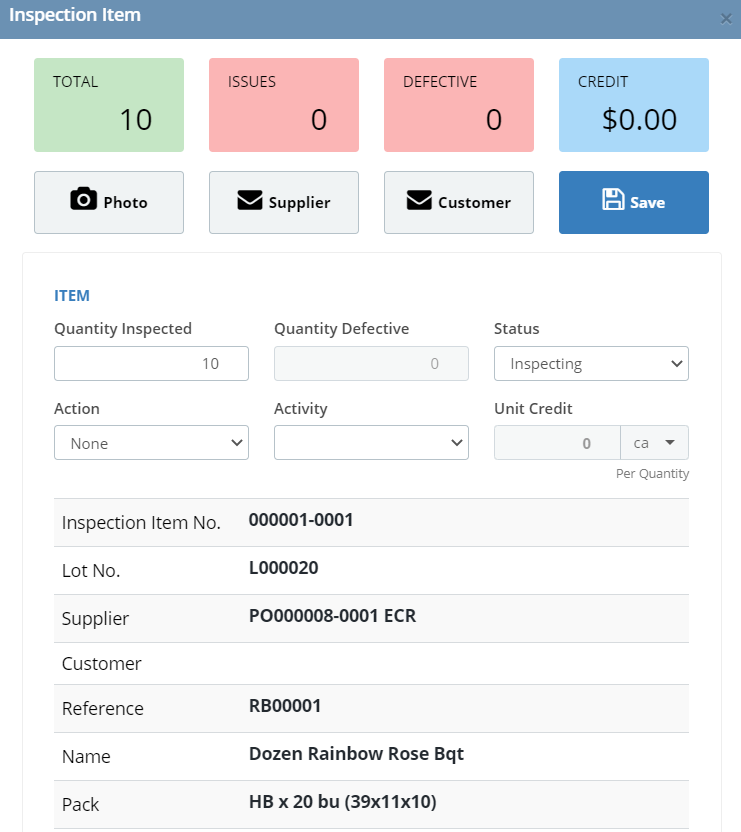
You may click on the Photo button to take a picture of the item, and you may also send notifications from the Supplier button and the Customer button. Here, if you scroll down, you will find information on the entire details of the order:
Item
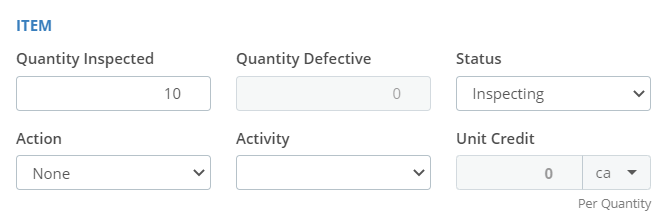
You may enter how many products are being inspected, set the status to Inspecting or Done, and select an Action or Activity for the defective items.
Issues
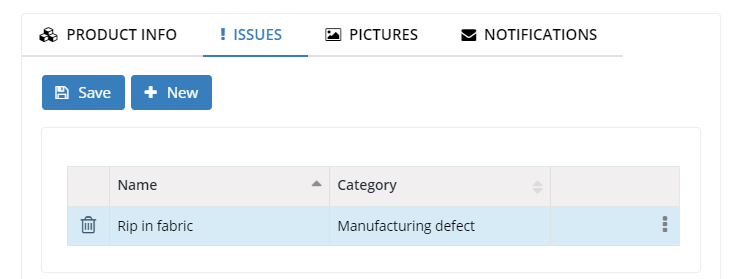
Click on “+New” to add an issue:
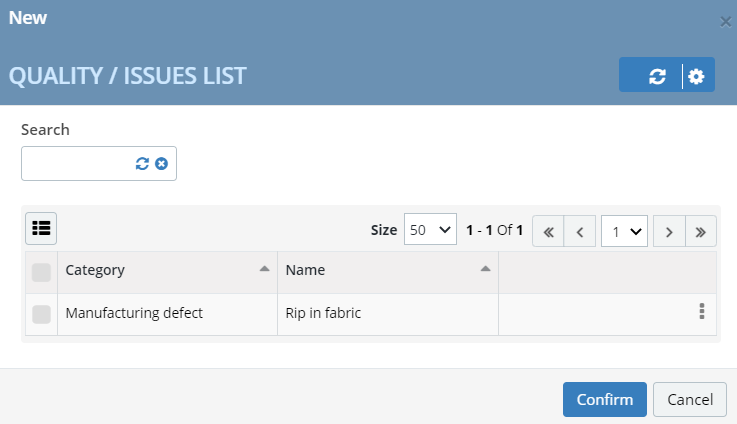
Select the issue from the list of issues and click on Confirm to continue.
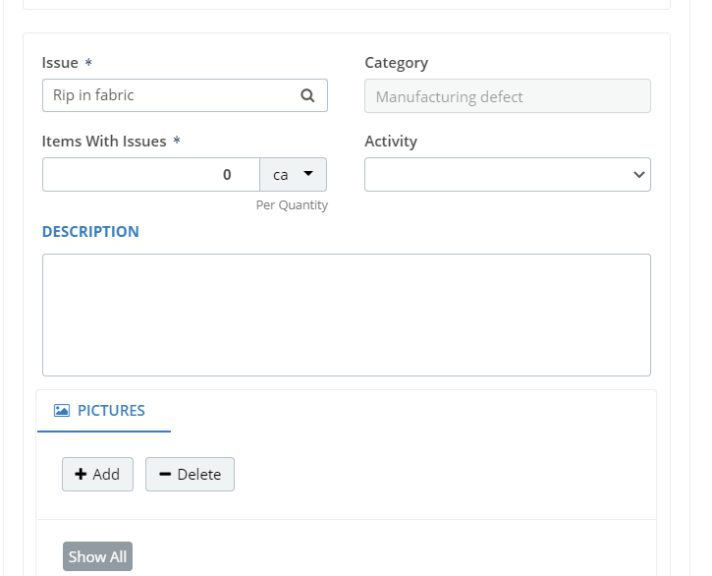
Below, you may:
• Add a detailed description of the issue
• Add pictures by clicking on the “+Add” button
• Enter how many items have the issue
• Select the activity that will be done as consequence
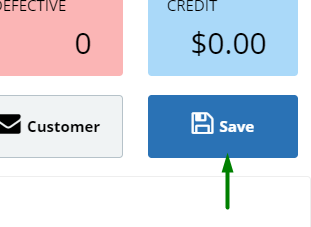
Click on Save to finish:
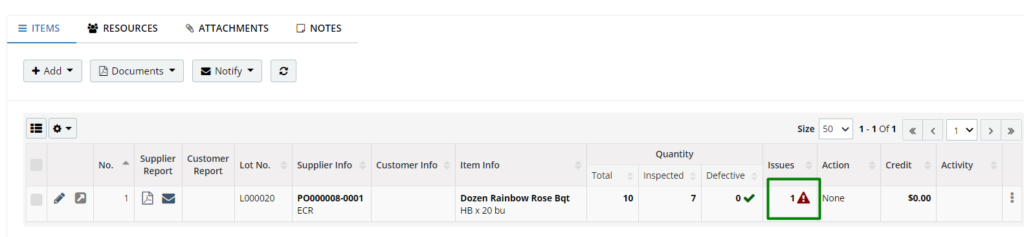
Back on the Inspection screen you will be able to see the results of the inspection, and it will reflect the issue that was found: